The Migration Step Most WordPress Sites Skip (And Regret)
Complete 12-step WordPress migration checklist for 2026. Preserve SEO rankings, custom fields, media, and taxonomies with pre-migration audits, serialization-safe transfers, and post-migration validation.
WordPress Content Migration Checklist 2026: A Step-by-Step Guide to Replatforming Without Data Loss
Most WordPress migration guides start with “back up your site.” That is important, but it skips the harder question: do you actually know what content you have? Posts, custom fields, serialized metadata, block editor markup, and taxonomy relationships all need to survive the move. This WordPress content migration checklist puts your content inventory first, because understanding what you are moving determines how you move it.
Important: Always create a complete backup before performing any migration. Test on a staging environment first.
Hosting Migration vs. Replatforming: Know Which You Need
Before choosing tools or writing a single redirect rule, clarify what kind of migration you are performing. The risks, timelines, and workflows differ substantially.
| Factor | Hosting Migration | Replatforming |
|---|---|---|
| Content format | Stays identical | Requires transformation |
| Database | Direct transfer | Schema mapping required |
| URLs | Can maintain structure | Full remapping needed |
| Media files | File copy sufficient | May need re-ingestion |
| SEO risk | Low | High |
| Timeline | Hours to days | Weeks to months |
A hosting migration moves your WordPress installation between servers while keeping the same CMS. A replatforming moves content out of WordPress entirely, or restructures how content is stored within WordPress (for example, migrating to a headless architecture).
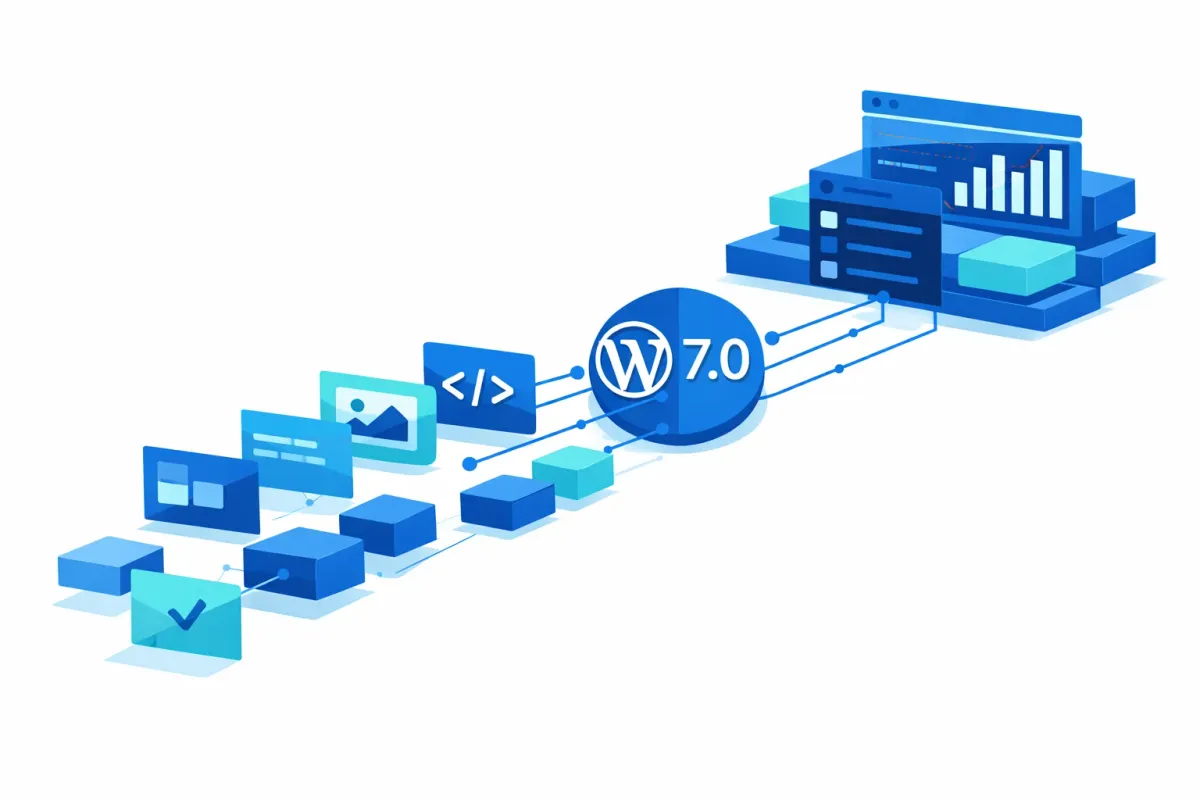
With WordPress 7.0 arriving April 9, 2026, bringing a new minimum PHP requirement of 7.4, many site owners are evaluating whether to upgrade in place or migrate to a new environment. Complete your migration before the release to avoid compounding platform changes with infrastructure changes.
Pre-Migration Content Audit
Start by inventorying everything your site contains. Run through this audit before touching any migration tool.
Content inventory checklist:
- Post types: Pages, posts, and custom post types (count each)
- Taxonomies: Categories, tags, and custom taxonomies (including term relationships)
- Custom fields: ACF fields, postmeta entries, and serialized option data
- Media library: Attachment count, total file size, external URLs (CDN-hosted files)
- Block content: Gutenberg blocks store attributes as JSON inside HTML comments (e.g.,
<!-- wp:image {"id":123} -->). These are portable across WordPress installations but fragile if the comment syntax is altered during migration - Widgets and menus: Not included in standard WXR exports. Document these manually
Server requirements for your destination:
- PHP 7.4 minimum (required for WordPress 7.0; PHP 8.3 recommended)
- MySQL 8.0 recommended (MySQL 5.5.5+ still supported as legacy)
Establish a content freeze 24-48 hours before migration to prevent edits from falling between source and destination. Review your existing WordPress automation audit checklist to identify scheduled tasks, cron jobs, and integrations that depend on your current environment.
The Content Migration Checklist
This is the core workflow. Follow these steps in order, and verify each before proceeding.
1. Create a full backup
Back up your database, wp-content directory, .htaccess, and wp-config.php (store credentials separately and securely). Verify the backup is restorable before continuing.
2. Audit content structure
Run your pre-migration content audit (above). Document post counts, taxonomy terms, custom field keys, and media totals. These become your post-migration verification baseline.
3. Choose your export method
Match your method to your scenario:
- WXR export (native XML): Best for content-only transfers. Includes authors, terms, posts, comments, and attachment metadata. Does not include
wp_options, plugin settings, widgets, or physical media files. - Database dump: Best for hosting migrations where you need the full database. Use
wp db exportvia WP-CLI. - API export: Best for replatforming to non-WordPress systems. For static site workflows, see our WordPress export to Markdown guide.
4. Set up a staging environment
Mirror your destination environment on a staging server. Never run a first migration directly to production.
5. Run migration with serialization-safe URL replacement
This is where most data loss occurs. WordPress stores options and metadata as serialized PHP arrays with embedded character counts. A raw SQL REPLACE operation breaks serialization because it does not update those counts.
Use wp search-replace 'old-url.com' 'new-url.com' --precise --skip-columns=guid instead. The --precise flag forces thorough PHP-based processing of serialized data. The --skip-columns=guid flag follows the WordPress official guidance: “Never, ever, change the contents of the GUID column.”
For WooCommerce stores, the data integrity methodology mirrors what is covered in the WooCommerce HPOS migration checklist.
6. Transfer media and verify attachments
Transfer your wp-content/uploads directory first, then import your WXR or database. If the source server goes offline before media files transfer, WordPress fails silently — images break without error messages. Use rsync or a file archive for reliable transfer.
7. Implement 301 redirects
Map every old URL to its new location. 301 redirects preserve link equity and signal to search engines that the move is permanent. Use 301 redirects, never 302 (temporary).
8. Validate content integrity
Run the post-migration validation checks in the next section before going live.
Post-Migration Validation
Do not launch until every item passes. “Does the site load?” is not a sufficient test.
Content verification:
- Post and page counts match source totals
- Custom field values are intact (spot-check 5-10 posts with complex metadata)
- Taxonomy terms and relationships preserved (check parent-child hierarchies)
- Block content renders correctly (look for “This block contains unexpected content” warnings, which indicate broken HTML comment syntax)
- Media attachments display and link to correct URLs
SEO verification:
-
robots.txtpermits indexing (staging environments often block crawlers — verify this is removed) - XML sitemap generates and includes all migrated URLs
- 301 redirects resolve correctly (test a sample of 10-20 URLs)
- Submit updated sitemap in Google Search Console
- Flush permalinks (Settings > Permalinks > Save)
Monitor Search Console for 2-4 weeks post-migration for crawl errors and indexing issues.
Common Data Loss Scenarios
These are the five most frequent causes of data loss during WordPress migrations. Knowing them in advance lets you prevent them.
| Scenario | Cause | Prevention |
|---|---|---|
| Corrupted serialized data | SQL REPLACE instead of serialization-aware tools | Use wp search-replace --precise |
| Orphaned media | Physical files not transferred; URLs not updated | Transfer uploads directory before import |
| Lost custom fields | Import tool does not handle serialized postmeta | Verify with spot-checks after migration |
| Block content fallback | Malformed HTML comments after find-replace | Test block rendering on staging |
| Missing widgets and menus | Not included in WXR export | Document and recreate manually |
Next Steps
Your content is the asset. The server is just where it lives. Approaching migration with a content-portability mindset — auditing structure before choosing tools, validating integrity after the move — protects against the silent data loss that plagues most migrations.
For teams evaluating a move to static site generators or headless architectures, our WordPress export to Markdown guide covers content transformation workflows in detail.
Whatever your destination, test on staging first, verify your content counts, and keep that backup accessible for at least 30 days after launch.